
Ryan and I make an ornament for each other every year.
It started when we were dating and, unbeknownst to one another, we gave ornaments to each other for Christmas. We now have 8 years worth of handmade experiments, I mean ornaments, on our tree. I love to think that we'll have 100 unique ornaments by our 50th wedding anniversary!

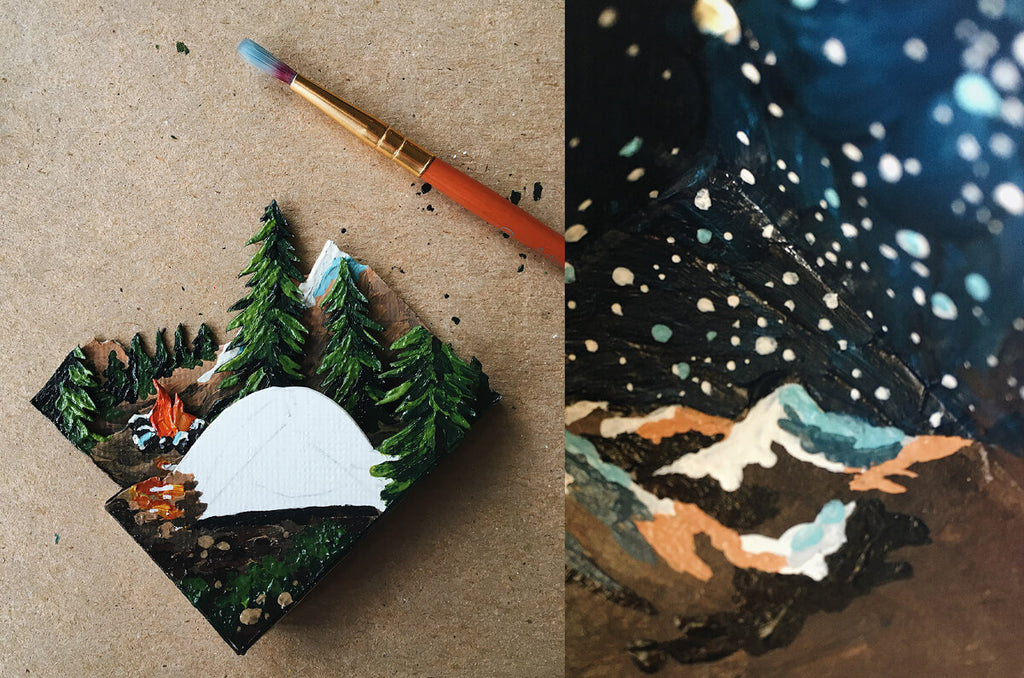
I thought I'd share the process behind my 2019 layered camping ornament—inspired by our backpacking trip to the Wind River Range that summer. I made this process up as I went along so feel free to be creative with it!
If painting isn't your thing, you can cut out solid-colored pieces of paper in different shapes and shades to create a simple silhouette layered scene.
Supplies:
- Heavy-weight paper (I used acrylic canvas paper)
- Hobby knife and surface to cut on (or scissors for less detailed designs)
- Acrylic paints, paint brushes and water
- Small paper box or container (I used a brown paper box from a craft store and removed the lid)
- All-purpose tacky glue and/or foam craft spacers (to create depth between layers)
- Small hole punch (or something to create a hole in your container)
- Leather, ribbon or string (to hang the finished ornament)
-
Gather supplies and make a hole in the top of your box/container (I used a small hole punch) big enough to thread with ribbon/leather/string.
-
Plan your design and sketch out the shapes/scene on your paper. Keep the final number of layers in mind and include interesting overlapping shapes. Use your container as the outside shape pattern.
- Carefully (!) cut out each layer and fit them inside your container before painting (do not glue). You may want to cut out test shapes before committing to a final design. I included optional glue tabs on my front shape to create an extra-clean front-facing presentation (see right photo of tent shape below).
-
Paint or decorate the inside of your container.
-
Paint or decorate the layer paper elements. Use bright colors that will stand out from the background.
- Use tacky glue and foam craft spacers to adhere each layer into the container, creating depth as you work from the back to the front.
-
Paint or decorate the outside of your container. I glued a map of the Wind River mountain range to the outside and wrote the date on the bottom.
-
Thread both ends of a loop of leather/ribbon/string through the hole you created and tie a knot on the inside of your container.
- Hang the finished ornament on your tree and enjoy for years to come.

It may seem funny for a brand that sells gifting goods to hand-make their own Christmas gifts, but there's nothing like starting a small business to put you on a budget for ... an undetermined number of years!
Plus, handmade is so special.


Written by Sarah Anderson, Co-founder + Artist


Leave a comment